|
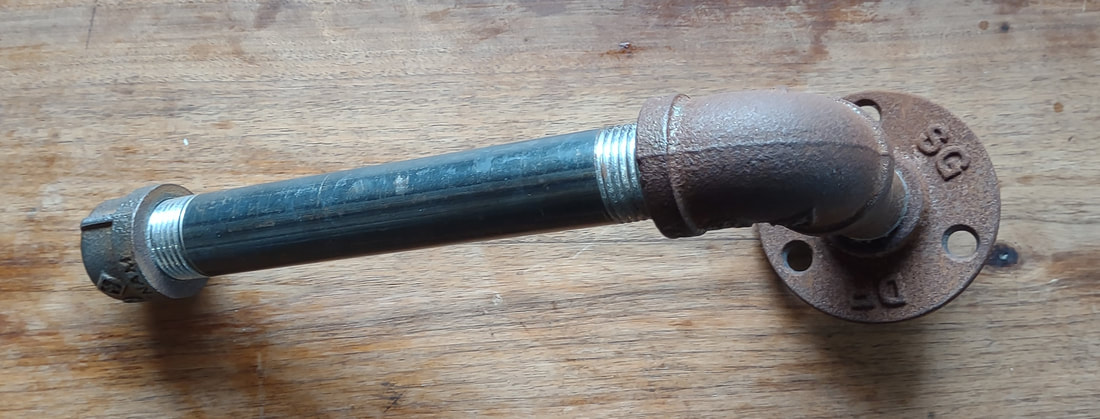
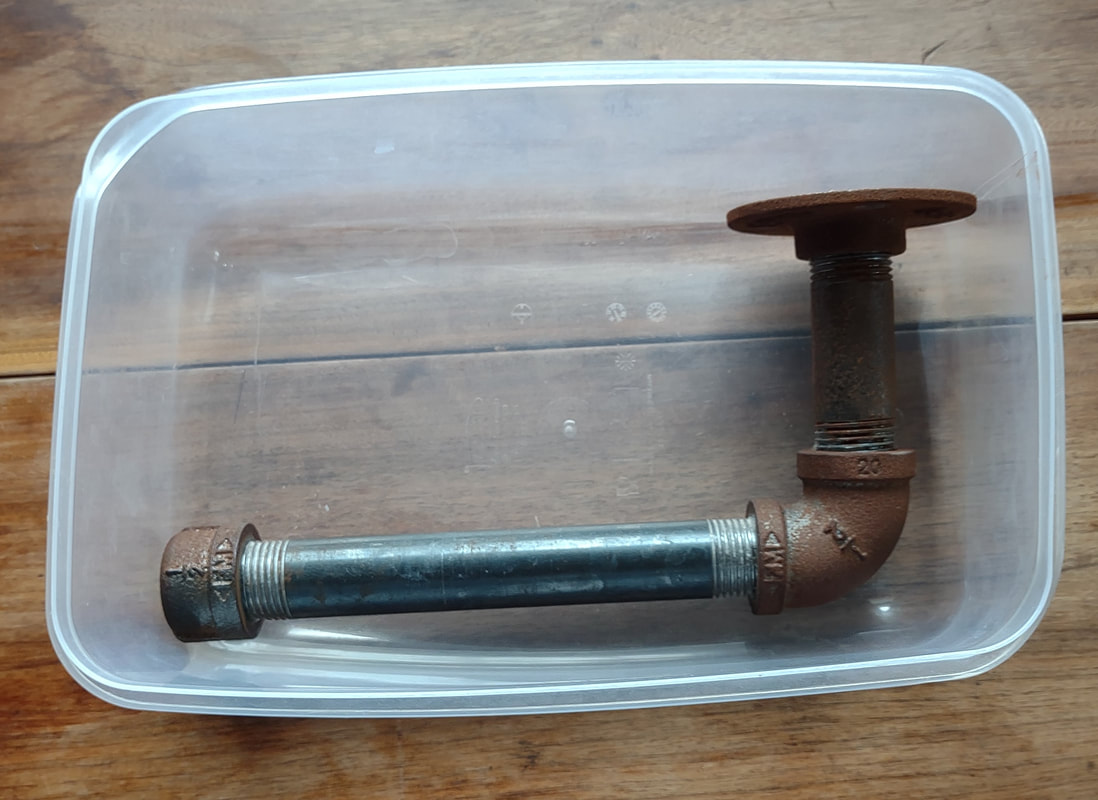
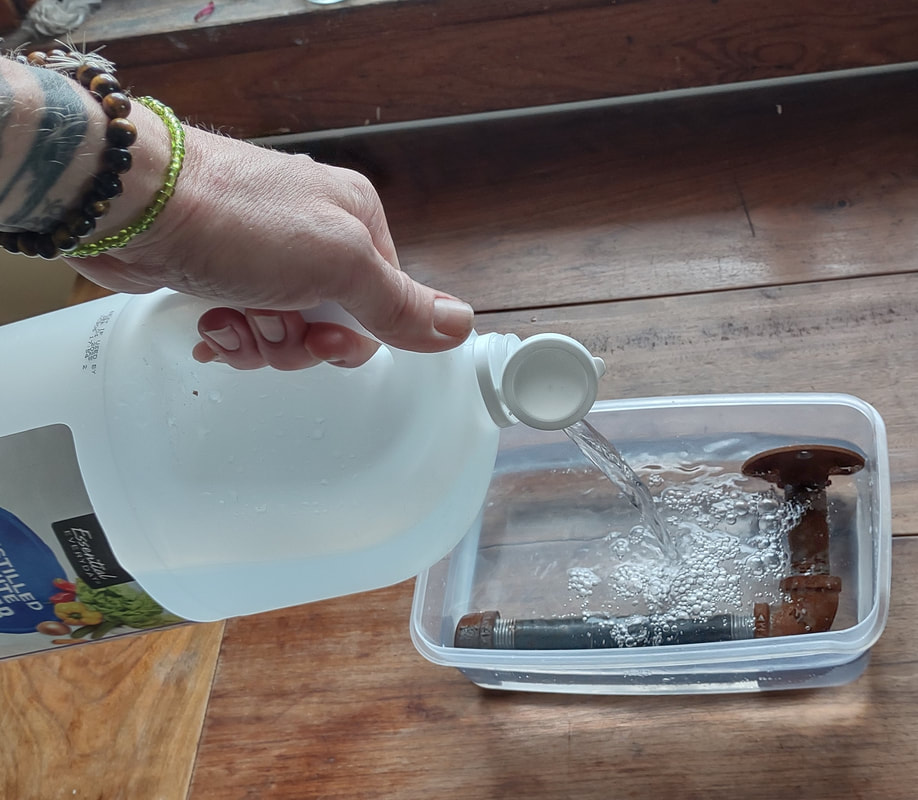
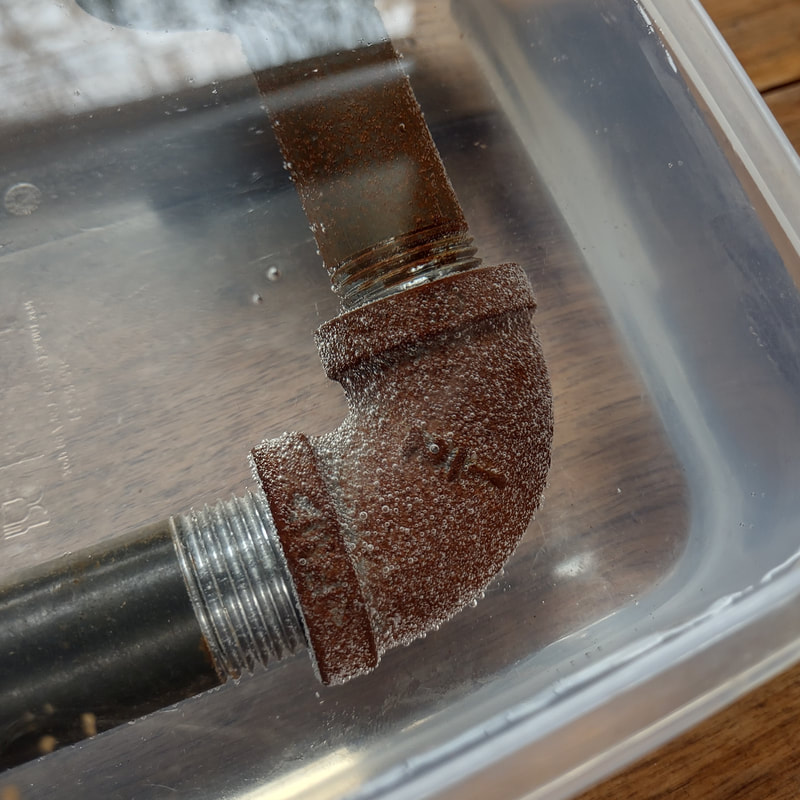
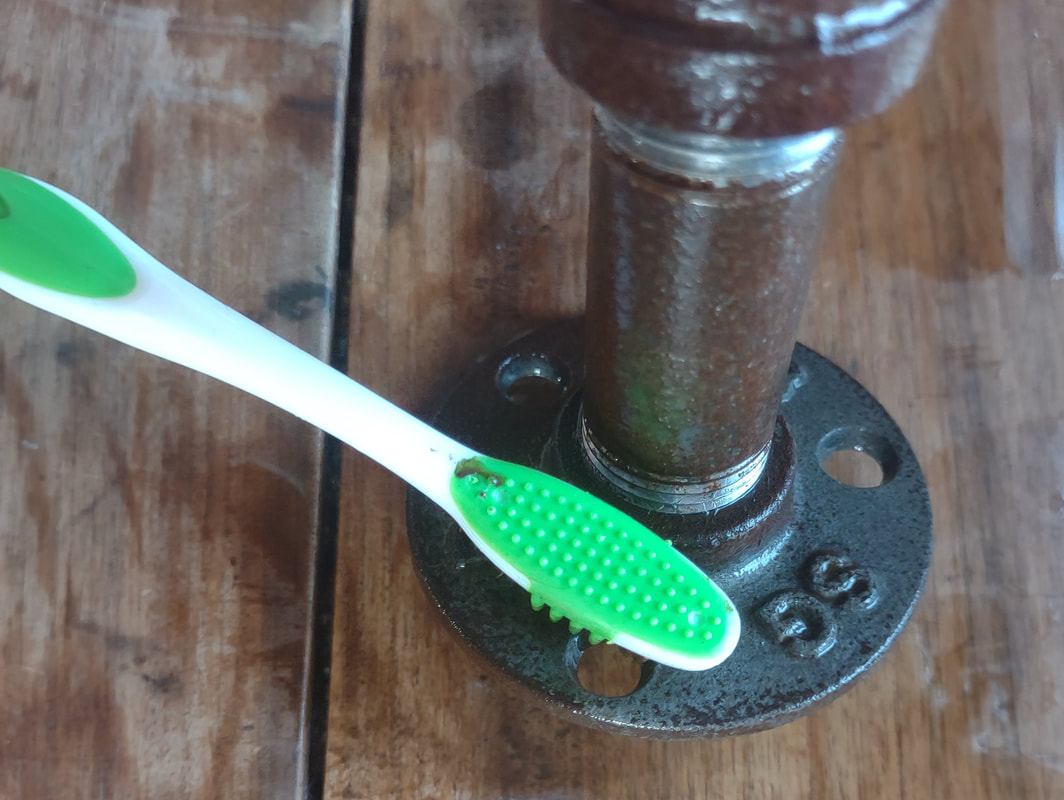
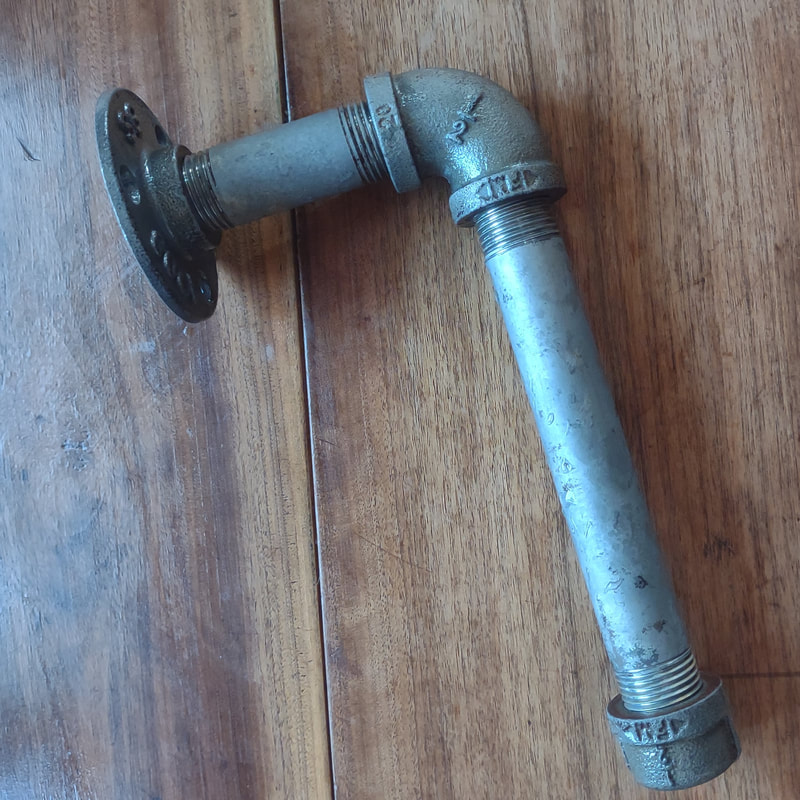
When I first made the toilet paper holder for my bathroom I forgot to seal it so it started to rust. I took it down when the bathroom was painted recently and figured as long as I had it off the wall, I’d clean up the rust and give it a clear coat. I pulled out my drill and a wire brush and started that way, then realized it would take less work and come out nicer if I used another trick to clean it. This is a super easy trick for cleaning rust off smaller items. Long story short, just throw them in vinegar.
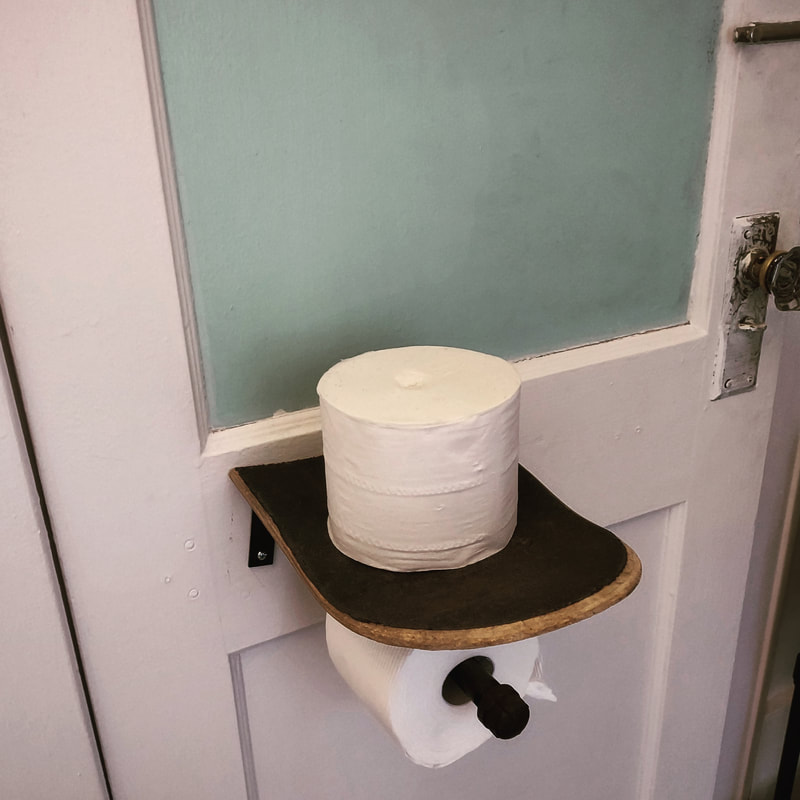
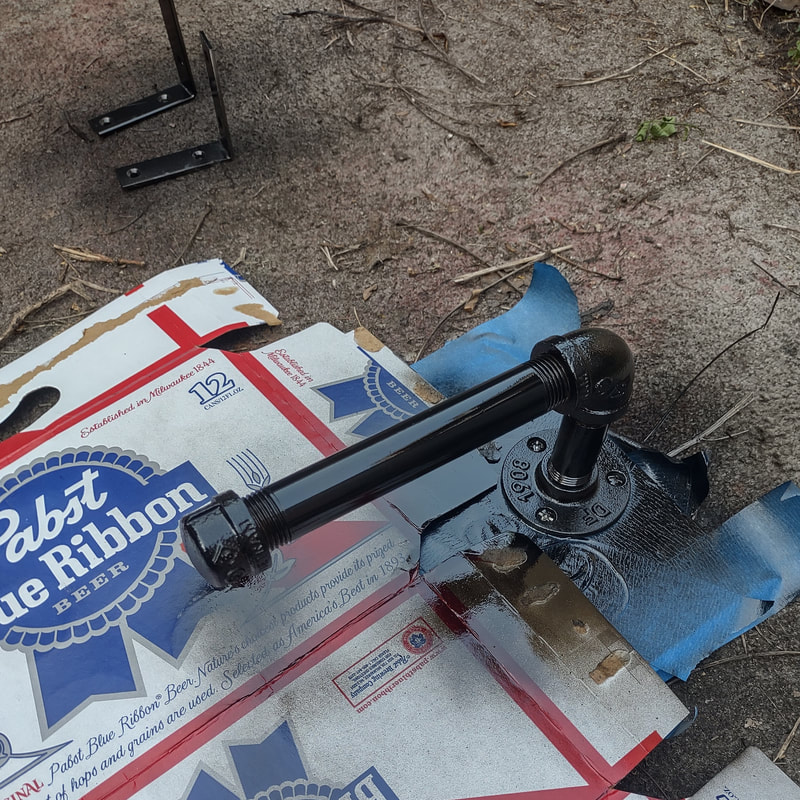
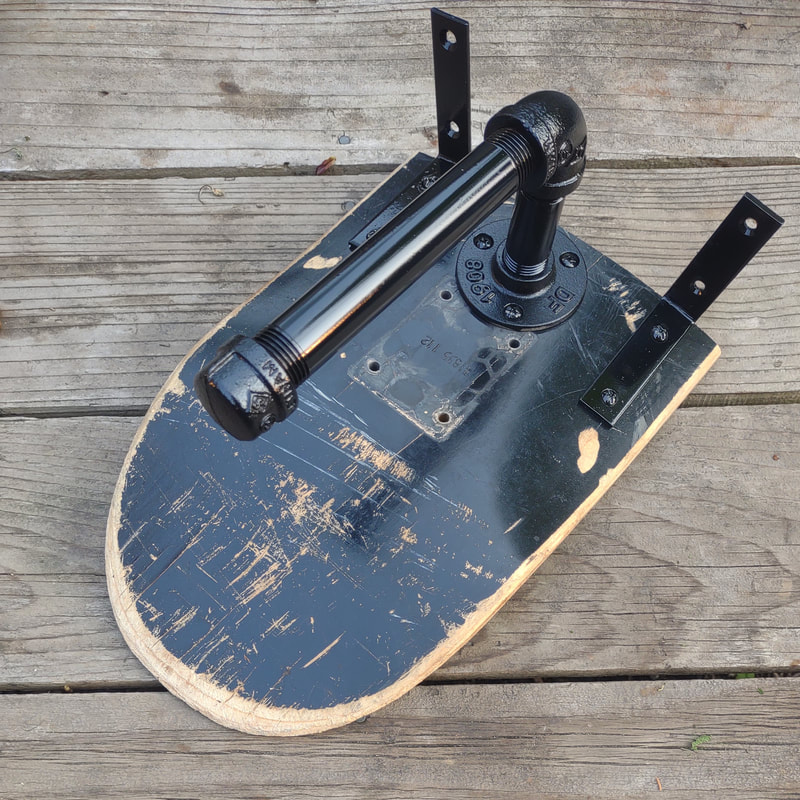
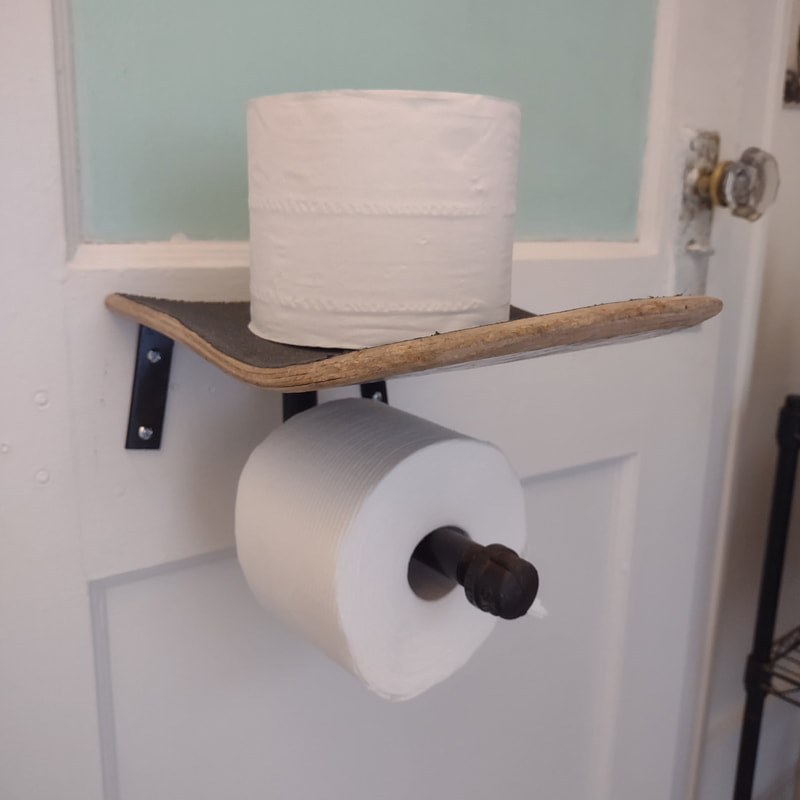
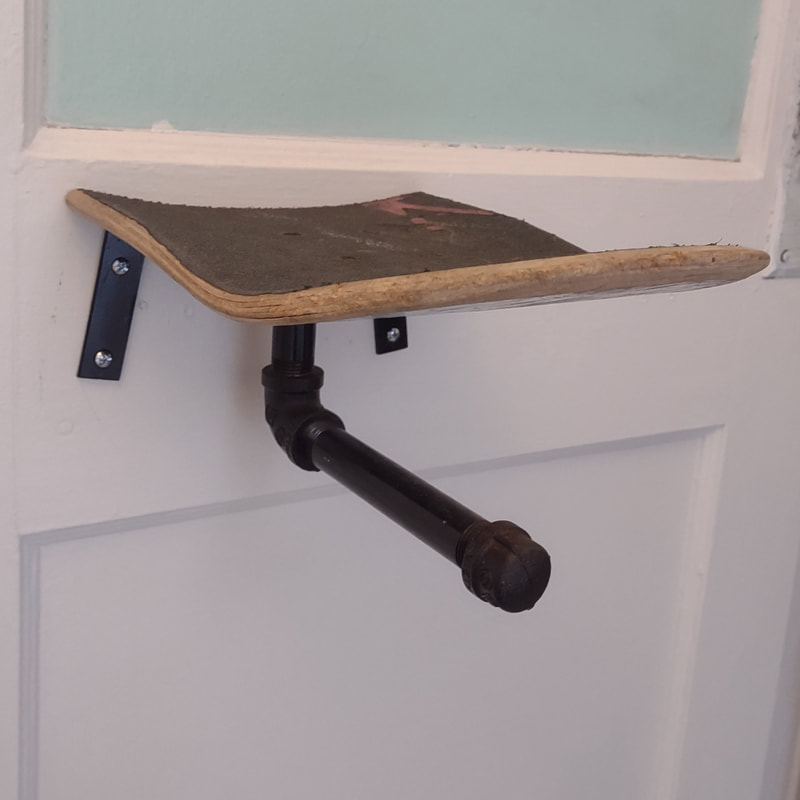
Skateboard Deck Toilet Paper DispenserThis toilet paper dispenser was originally attached to the wall, but I decided to attach it to a chunk of an old skateboard deck and attach that to the wall. (Okay… to the door actually.) I like this design because the deck acts as a shelf for a spare roll of toilet paper, or whatever else you need close to the toilet. I was originally planning to clear coat the dispenser, but I didn’t have any in the garage so I just painted everything black to match the deck. I’m not going to do the step by step on this, but here’s a few pictures if you feel like figuring it out yourself. I’m also going to add these to the store once I figure out the cost of materials.
0 Comments
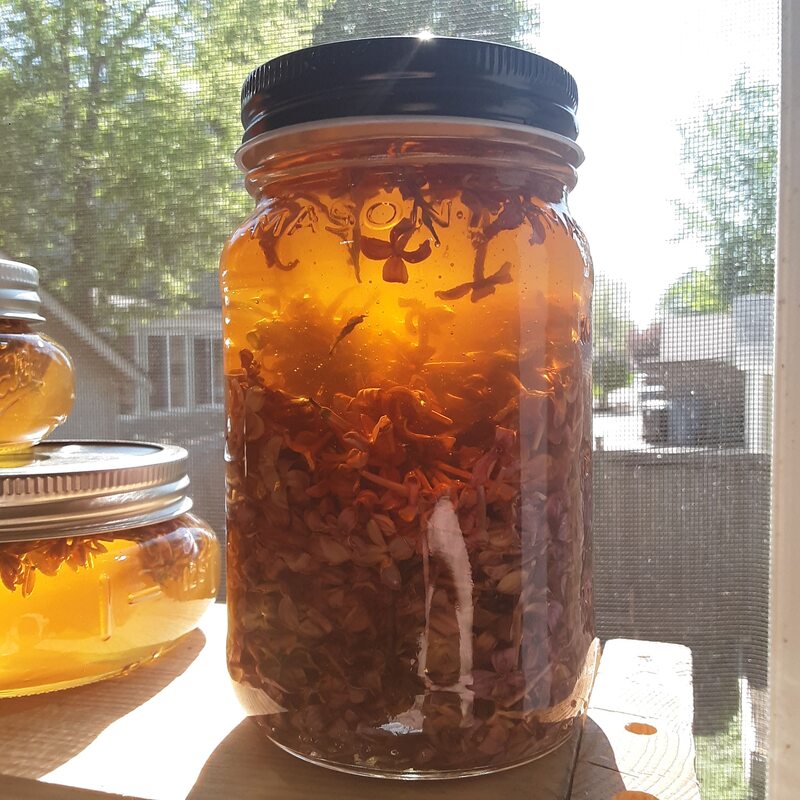
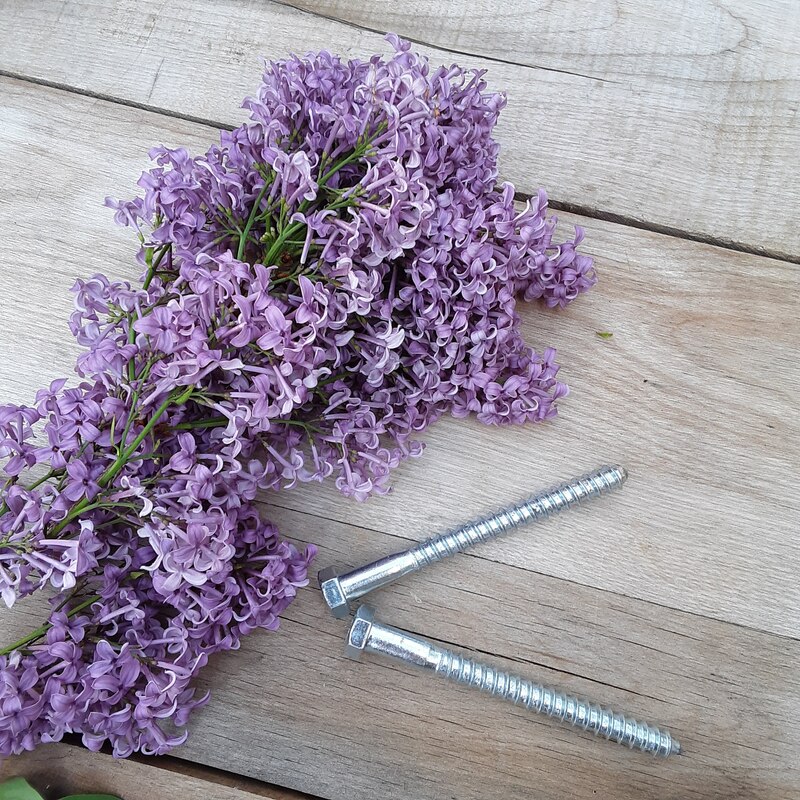
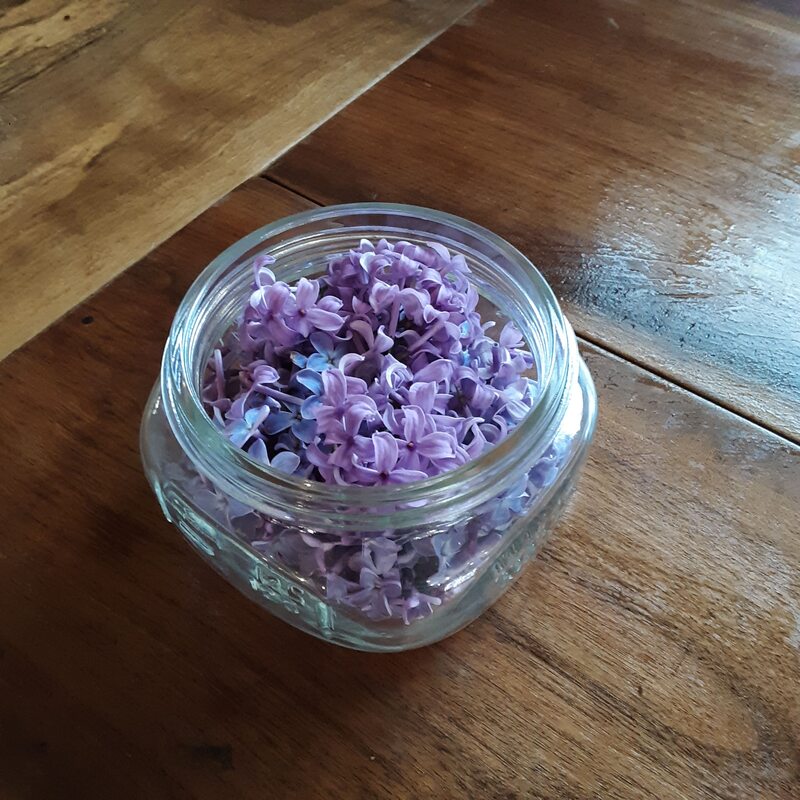
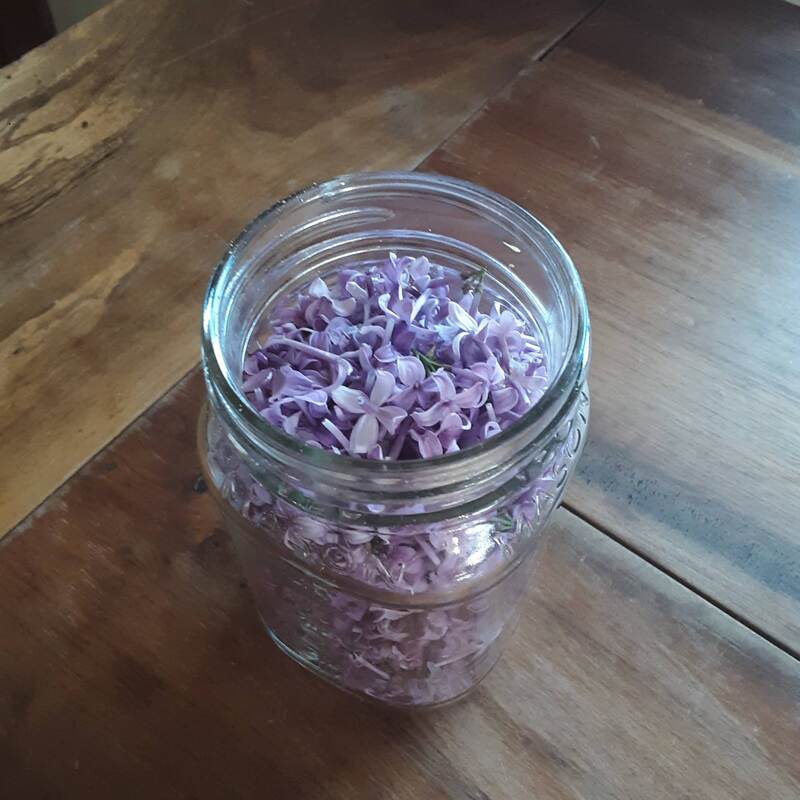
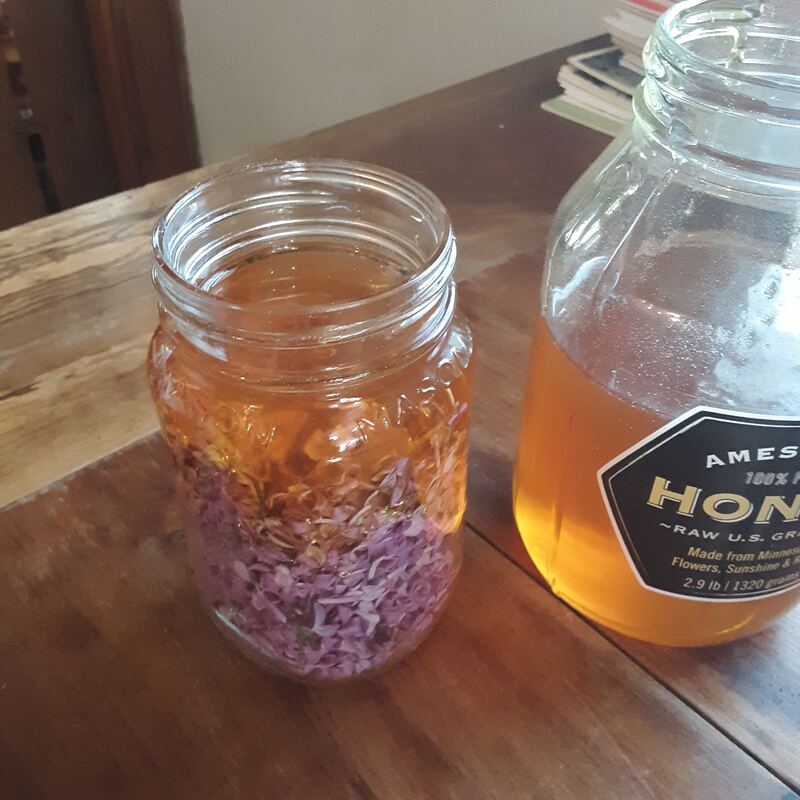
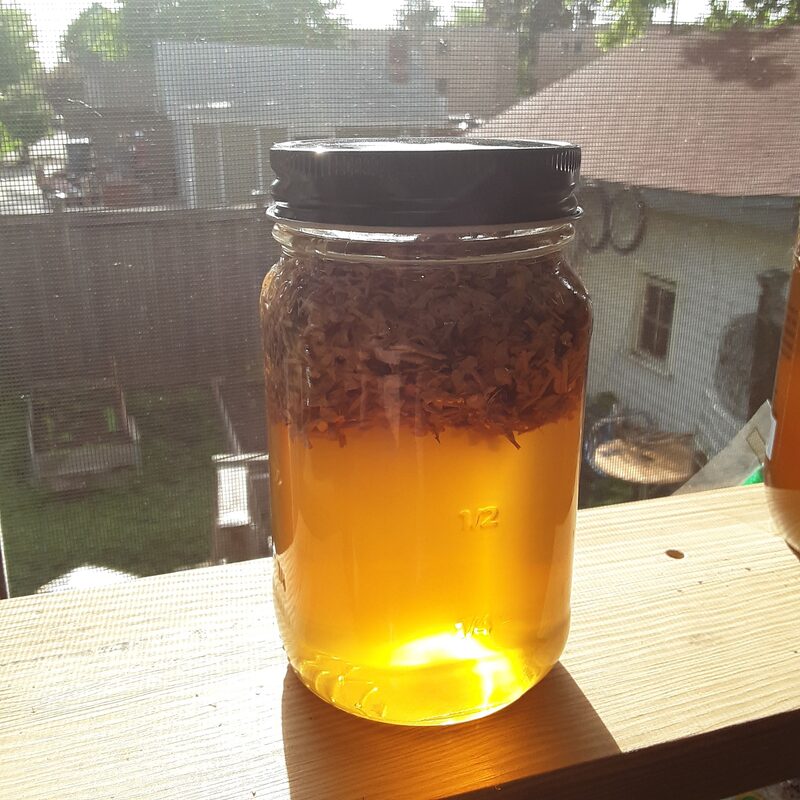
A few years back a friend of mine who was out of the town for the glorious Minnesota lilac season asked if anybody could make her some lilac honey. There’s just nothing like the smell of fresh bloomed lilacs, and they only last for about a week. There’s no artificial scent that smells anything like them, and there’s really no way to preserve the smell. Her thought was that lilac infused honey was about as close as she was going to get. I’d never heard of it, but I LOVE flowers so it sounded like something I would be interested in. I did a little research and figured out how to make it. I figured as long as I was making her a jar, I might as well make a few more. I kept one for us, and sold a few to a friends. There was a ton of demand so the next year I made even more honey, and the following year I made even more. It doesn’t take very long to make a jar or two, but making a few dozen jars ended up taking a good part of a day which I don’t want to do this year, so I’m just going to share the “recipe” and you can make it yourself if you’d like. It’s incredibly easy. Folks will tell you to find out if the flowers have been sprayed. Who sprays lilacs? Maybe they do in the rich suburbs, but I ain’t never seen anybody spray ANYTHING in my neighborhood. I do try to avoid bushes next to busy roads. I’d prefer my honey to not taste like car exhaust. Folks will also tell you not to steal your neighbors’ flowers. I have my own elaborate set of self-imposed rules about flowers. You’ll have to figure out for yourself what you’re comfortable with. In the past I used to mix my stories and opinions in with the step-by-step. I’ve since learned that people don’t like that, and in fact will gripe about my little story time introduction. Know what though? Those ungrateful fucks can go buy their flower honey at a farmer’s market or something. Step-by-Step Make sure you have raw honey and clean jars on hand before you start picking flowers. You want the flowers to be as fresh as possible. Pick bunches of lilacs that are fully opened, but not yet turning brown. The best looking (and smelling) flowers make the best tasting honey. Next remove the flowers from the stem. Some of the articles I read suggested cutting them off with a scissors. I found that pulling the flowers off by hand went quicker and left less stem. Fill your jar to the top with flowers. (I’ve used as small as 4 ounce and up to 1 quart jars with success) You can have them sit loosely or pack them down a bit. You don’t want them packed tight, but the more flowers you get in your jar, the more of the flower essence you’ll have in your honey. Pour honey over the flowers almost to the top of the jar. Let sit for a few minutes so the air in the flowers can bubble to the top, then add more honey if needed to fill the jar and screw the cap on. The flowers will float to the top of the jar, eventually forming just a thin mat of flowers at the top of the honey. The honey should sit for a least 7 days before being used. For the first few days I like to turn the jar upside down once a day to let the flowers float up and mix with the honey a bit. When you’re ready to use the honey, you scan scoop out the flowers if you’d like, or leave them in. They’re edible. If you use a good quality honey, it will keep for months. I’ve opened up a jar that was sitting in the cupboard for a year, and the honey was still perfect.
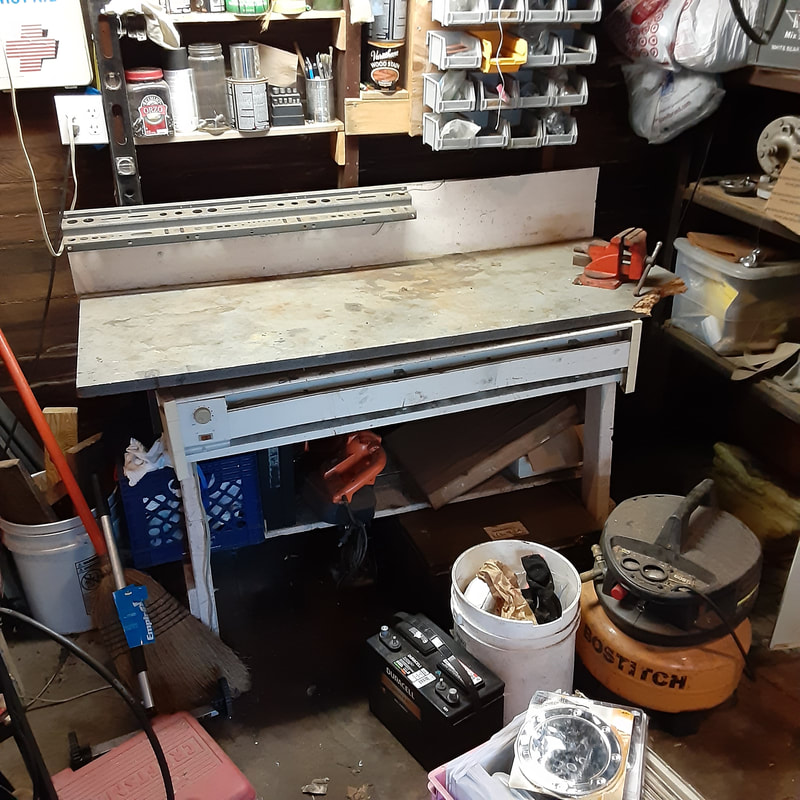
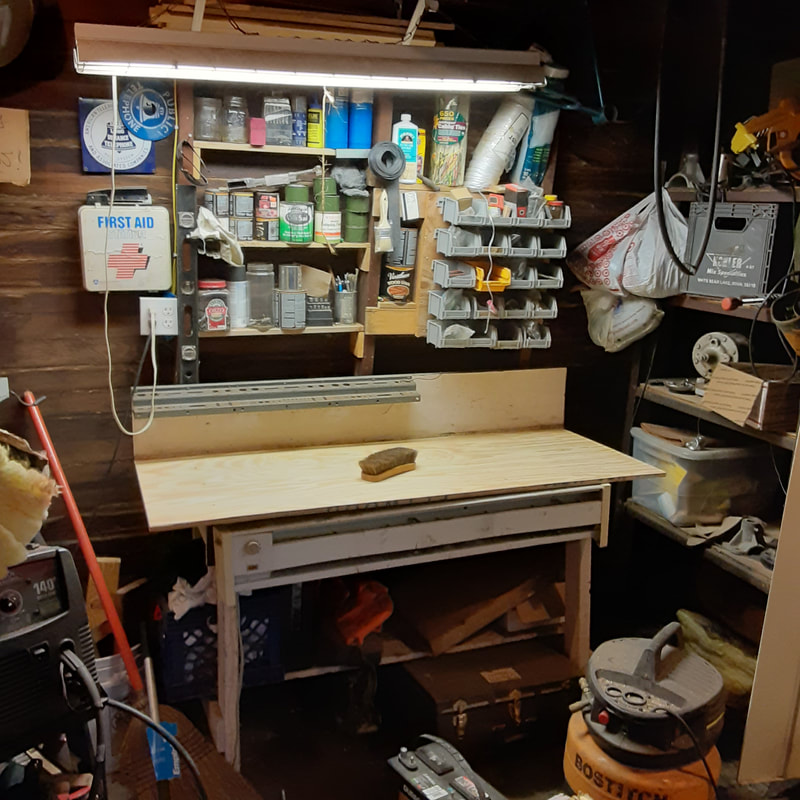
Use as you would any other honey, but it’s especially good in tea or mixed drinks. Throw some edible flowers on top of your drinks to really fancy it up! I recently replaced the top of my workbench after a friend broke off the corner wrenching on something in the vice. I took some pictures of the process and a figured I would share this idea that I had a few years back that worked out really well.
I had a garage that wasn’t insulated so heating it with propane was ineffective and expensive. I wanted to work out there in the winter without being insanely cold. I had an electric baseboard heater that I’d picked up somewhere, (probably somebody’s garbage) and figured if I mounted it close to where I was working it would keep me warm enough to work out there for a while. I mounted it to the front of my workbench, just under the edge of the bench top. It worked out beautifully! It was so much cheaper to run because it was only heating my immediate work area instead of the whole garage, which also meant that I didn’t have to wait for the whole garage to warm up to start getting warm. As soon as I turned it on, I started warming up. When I mounted it there, I didn’t think about how it would keep my hands warm, which was especially amazing because it’s so hard to work with cold hands. About the only issue I had was that my feet would get cold because the concrete was always freezing cold. So if you spend a lot of time at your workbench and need a way to stay warm during the winter without breaking the bank, you might give this a shot. If you ever wondered what the "Laboratory" looks like, I was doing a ton of cleaning and organizing this week, so it's actually fairly presentable and figured I'd do a quick video tour. I probably could have a done a tour the entire length of "What's He Building in There?" but I wasn't sure that folks would sit all the way through it... so I shortened it up.
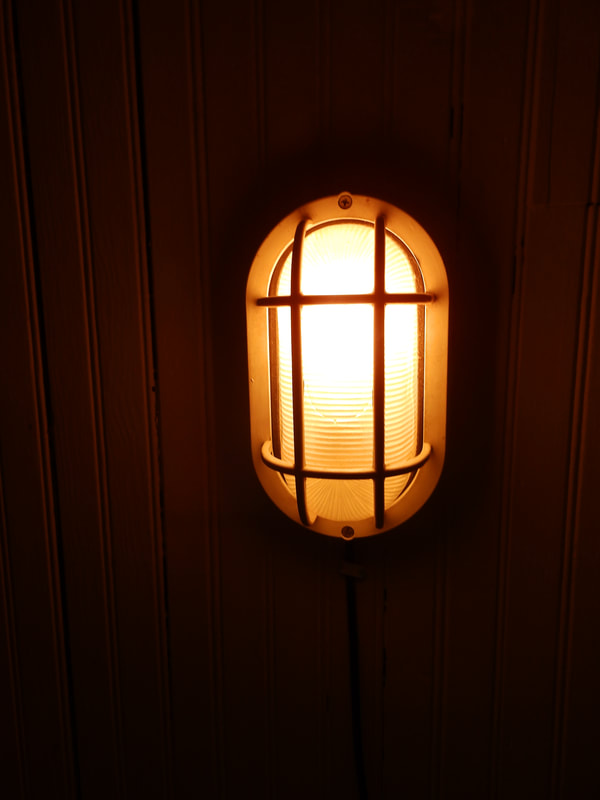
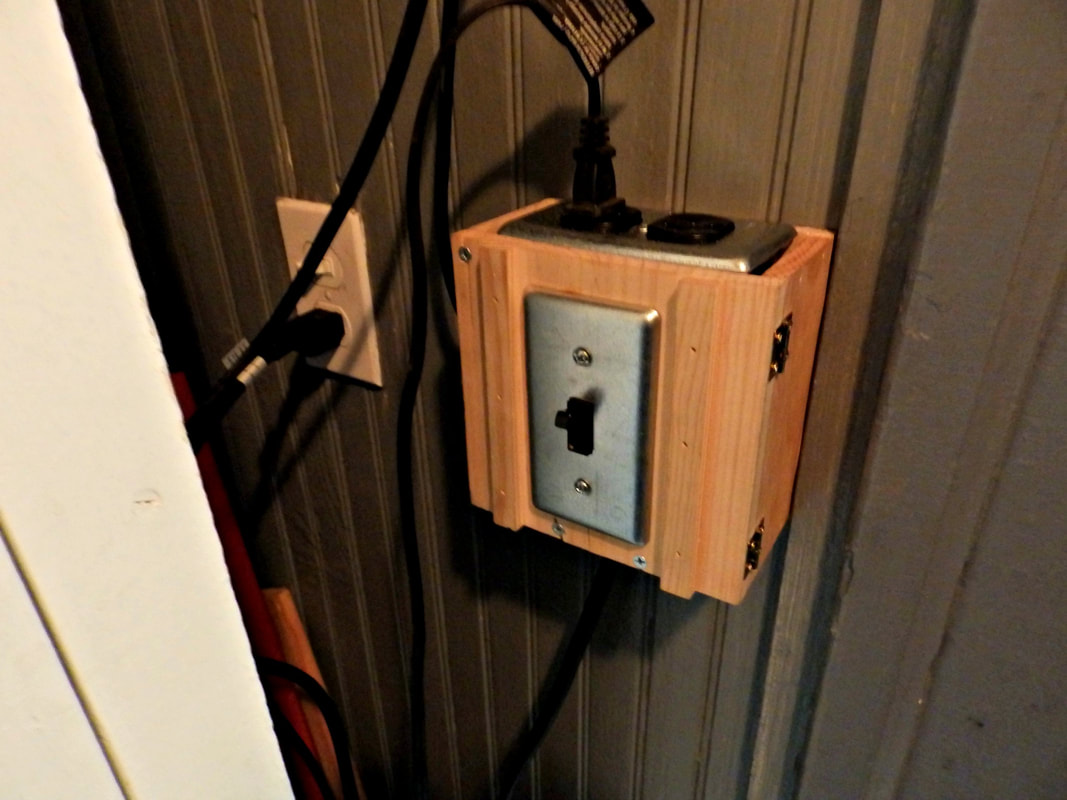
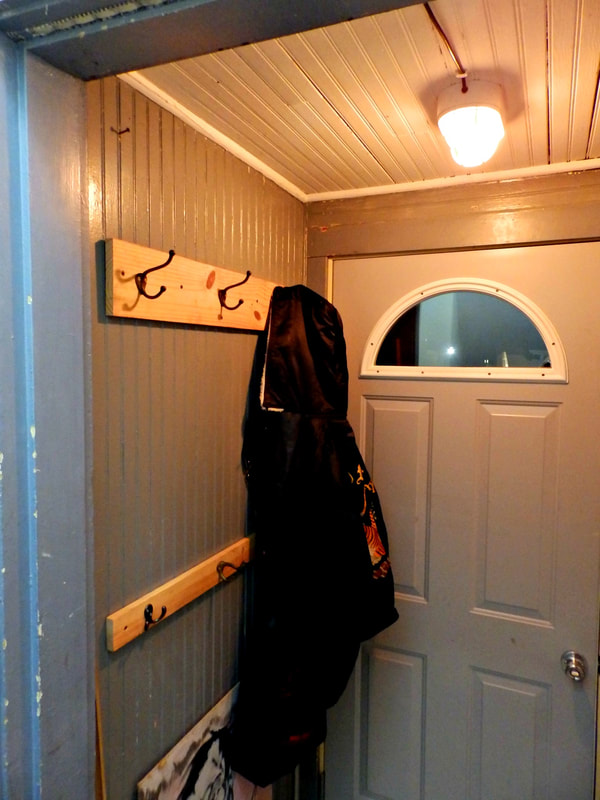
This rear entryway was my big project this last weekend. When we moved into our house, the kitchen was tiny and had no cupboard space. So we put a cabinet I had fixed up to use as a linen closet in the kitchen to use as a pantry. The landlord had our kitchen remodeled shortly after we moved in, but even with the extra cupboard space we decided that we wanted to keep the pantry. With 5 adults living in the house, we figured it would be helpful to have some extra storage space for canned & dry goods. There wasn’t a good place for it in the kitchen, but in the rear entryway it would fit in the “coat closet” which was just a nook with a hanger bar and a high shelf. This left us with a couple issues. There was no light in the rear entry way, and now no place to hang coats. Since I build both of those, I wanted to make a really rad industrial looking light and a rad coat rack made from bike parts and scrap metal pieces. Well I ended up using a light fixture that was given to me in a tub of scrap metal. It just seemed like the perfect light for that space. Even the colors matched. I’ve made a few switch boxes. When I want to put up a light fixture that you’d normally wire into the wall, but I can’t wire into the wall (because I’m a renter), I add a power cord with a switch box that can be mounted to the wall. If you don’t mind some exposed cord or a switch box on (instead of in) the wall, you can put a light fixture just about anywhere like this. In the rear entryway there is only one outlet that I use for the battery charger for my drill. Since I would be using that outlet for my light and I still wanted to plug in my charger, I added an outlet to the switch box. The only real issue with this was that the box I picked up at the thrift store to use for this purpose was quite brittle. It looked pretty sturdy, but the wood split really easily. The entire top broke apart when I tried to drill a hole for the outlet, so I had to make some alterations to the original plan. It didn’t go together as easily as I expected, but I got it figured out. I just ran a sturdy lamp cord from there to where the light would be, holding it to the wall and ceiling with wire clips. Then I attached and hung the light fixture. Voila! We now had light for our pantry and I still had a place to plug in my charger. I really wanted to make some fancy coat racks, but it was just too easy to grab the hooks I’d salvaged from somewhere, screw them to the boards I’d salvaged from somewhere else and screw them to the wall. It kind of fits with the saying, “The cobbler’s kids have no shoes.” I always have all these ideas to make these fantastic things for our house, but when it comes time to actually build something for the house, I often end up making something pretty basic and utilitarian while I sell the coolest stuff I make.
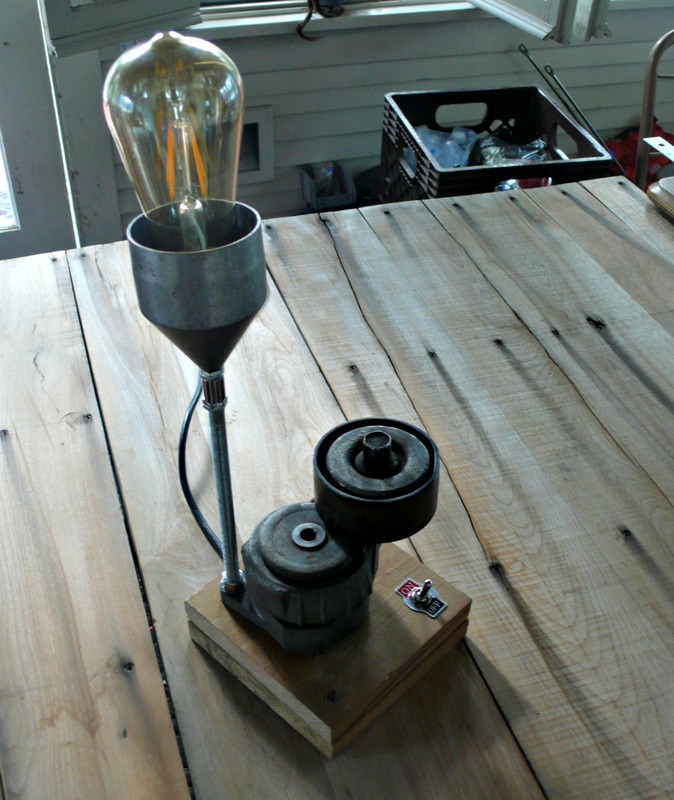
You know that old Tootsie Roll commercial where they're singing "Whatever it is I think I see, becomes a Tootsie Roll to me?" That popped into my head as I was building this lamp because everything I think I see becomes a lamp to me.
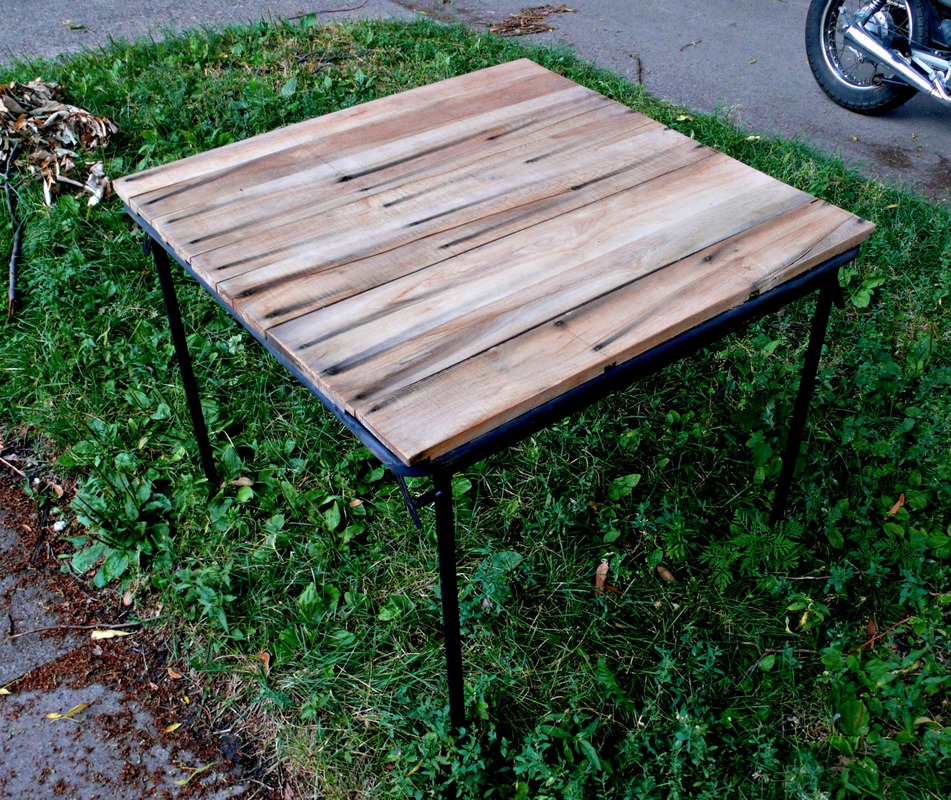
This is an tensioner pulley I found on the side of the road on my way to work one day. (That must have been a bad day for some poor motorist.) The first day I saw it, I left it there. The next day I thought, "Yep, that's a lamp." and swing my bike around to go back and get it. I tossed it in the front basket where it rattled around for the rest of the day. It sat on the railing in the shop for a few weeks because that center hole wasn't large enough to pass a 3/8" all thread pipe through. After walking past it enough times I got an idea last night that I had to try out. It was already late and I was getting tired, but I tested out the idea and it seemed like it was going to work, so I went to bed. I was up at the crack of dawn this morning when Jodi got up to go to work. Sometimes I think I might sleep for a little bit more after she gets up, but it doesn't usually work that way. I started thinking about the roast I wanted to get in the crock pot, and this lamp that I wanted to finish, and I was up making a cup of coffee a couple minutes after she walked out the door. After getting that roast in the crock pot... and believe me, you're gonna wish you were over for dinner tonight... I finally got some Iron Maiden playing and got to work on this lamp. I have to tell you, I have been listening to Iron Maiden for two days and I am kicking myself for not getting tickets to that show recently! I should have just bought the tickets and worried about money later. My plans changed a little from last night, but I got it all wrapped up in time to take a couple pictures and head off to my mind-numbing 9 to 5. I have a little more room at Red Hot Art Festival 2017 than I usually do at a craft show, so I fixed up a card table that I dumpstered at one point. The top was shot, but frame and legs were still in fine condition, so I used the wood from some cupboards they took out of our kitchen when the landlord remodeled. They were made out of real wood, not particle board, but they sat outside in the elements too long to be usable for much. However, there was enough there to make a pretty sweet little table top. Plus the wood is sturdy enough, I should be able to attach a power strip to the underside for plugging in lamps.
My friend Jake taught me a lot about birthday presents. Someday when I finish writing up my book of guidelines that I use to keep myself sane, one of them will be a variation on what he told me about gift giving.
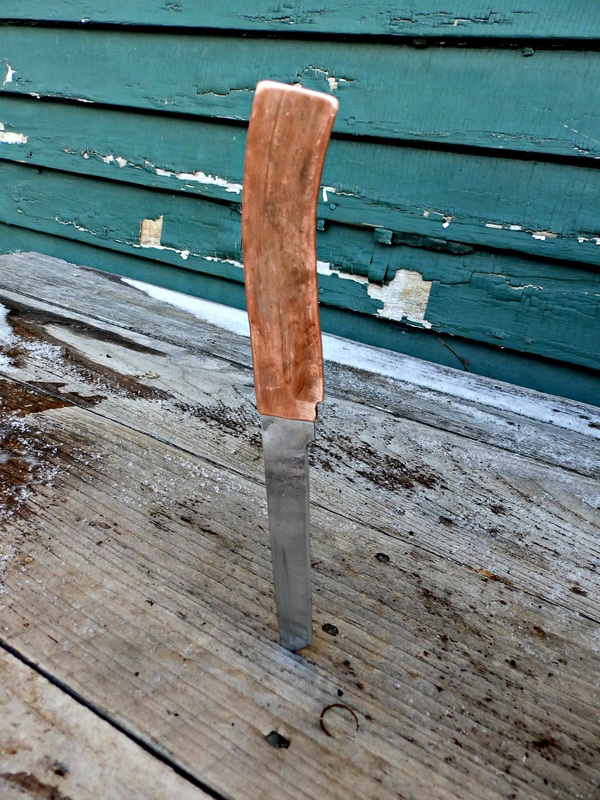
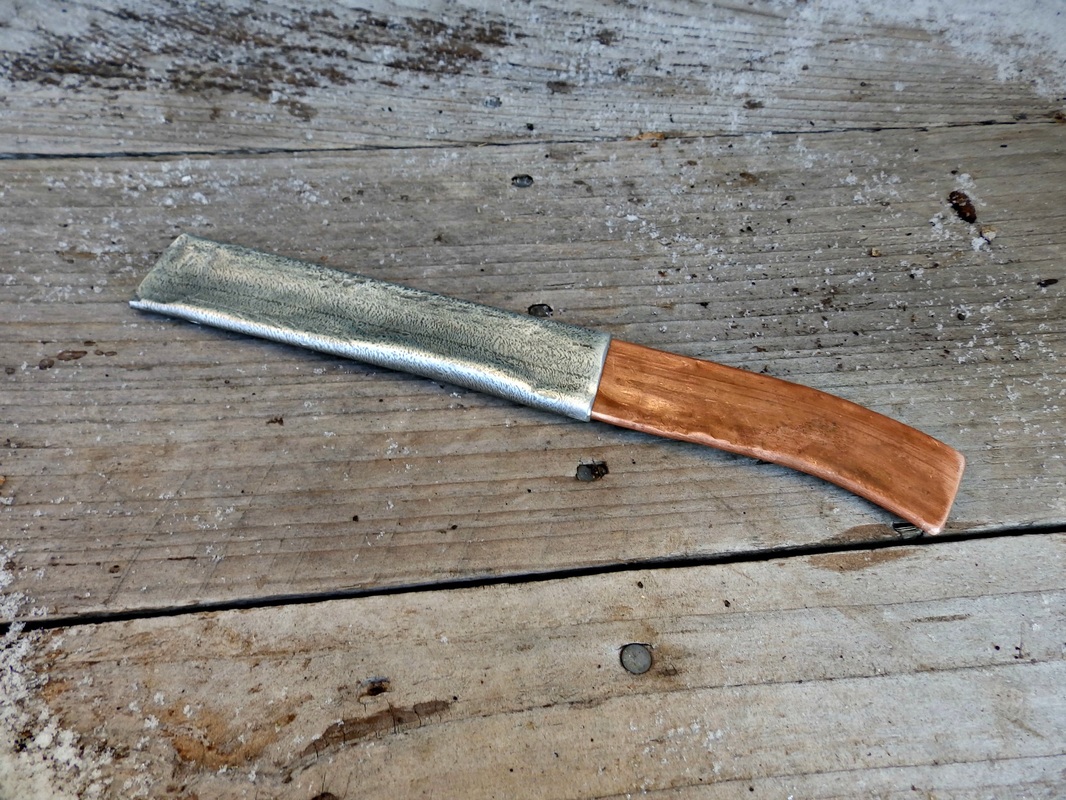
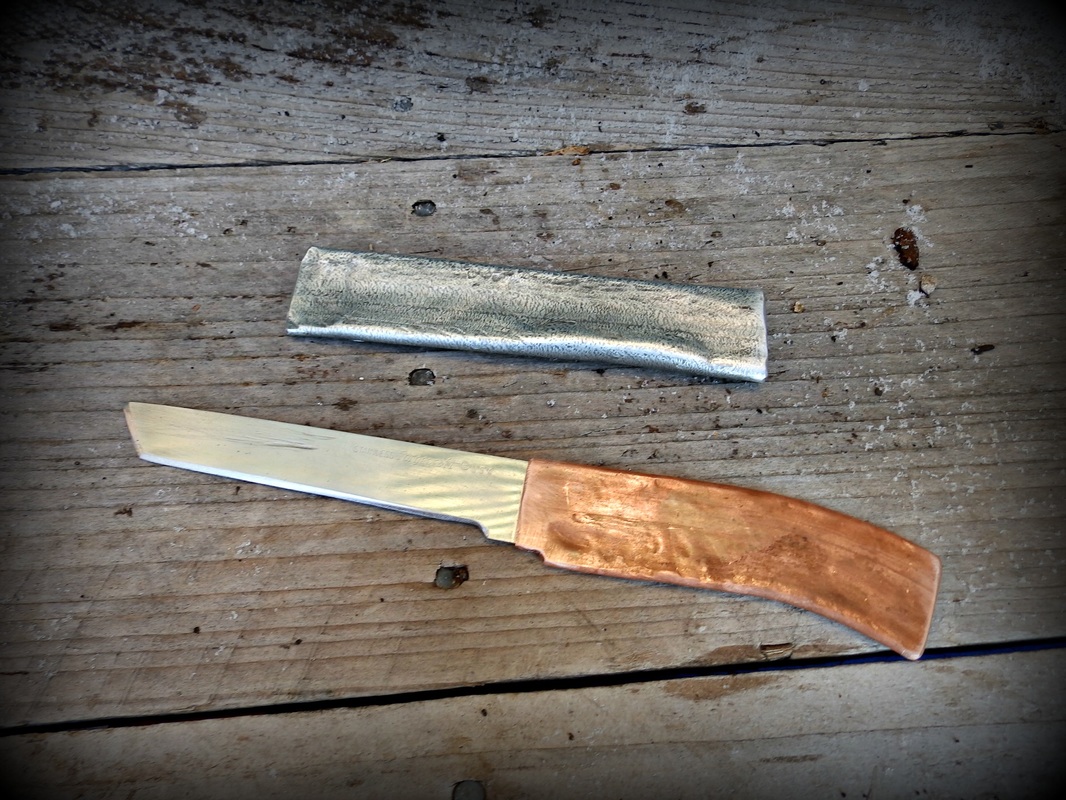
This is the knife I made him for his birthday. It’s made of 3 pieces. A knife blade from a box of kitchen impliments someone was throwing away, a piece of copper tubing left in my garage by the previous owner, and a chunk of EMT from a some pieces I dumpstered recently. Spent some time in the garage with a hammer, a grinder, and a file to put it all together into this. |
Mat Resist's
|

